Cutting out of ordinary paper volumetric multilayered paintings - an exciting hobby. If you decide to try your hand at this art form, start with simple paintings made of paper, the creation of which will allow you to get acquainted with the subtleties of this kind of needlework.
We offer a simple and step-by-step master class, familiarization with which will make it possible to create a three-dimensional picture cut out of paper with your own hands. Time for this much is not required, and the materials necessary for work, will always be found in any house.
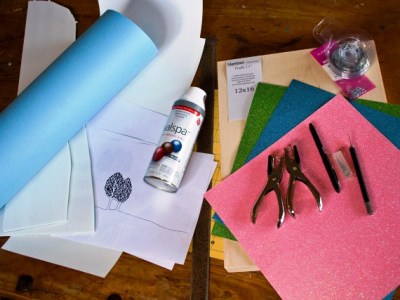
We will need:
- wooden frame;
- paper of blue, white, golden colors;
- liquid shine;
- Styrofoam;
- wire;
- stationery knife;
- double sided tape;
- glue.
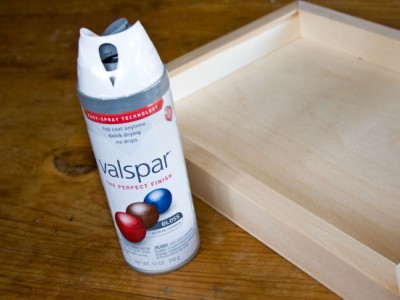
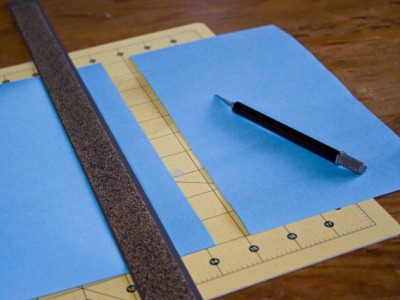
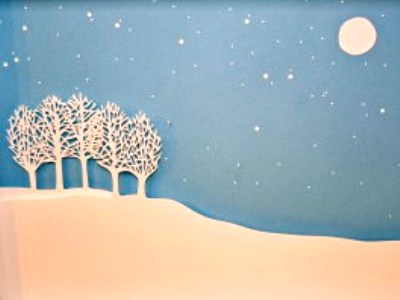
- Before making a picture of paper, treat the wooden frame with white paint. It is more convenient to use aerosol paints. Take into account, the obverse part of our forgery will be the reverse side of the frame. While the paint will dry up, you can proceed to prepare the background. To do this, cut out a rectangle of blue paper. It should fully correspond to the dimensions of the inside dimensions of the frame.
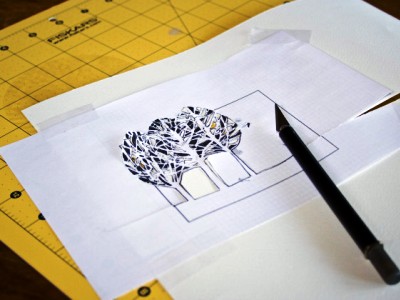
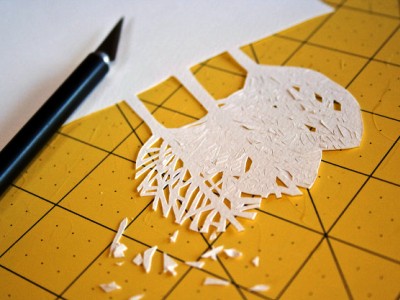
- On a sheet of white paper, draw some trees with intersecting branches. To facilitate the excision, shade a few pencils with a simple pencil. Place the second sheet under the first sheet. Proceed to cut out the shaded areas. After that, detach the sheets and tear off the slices with a knife.
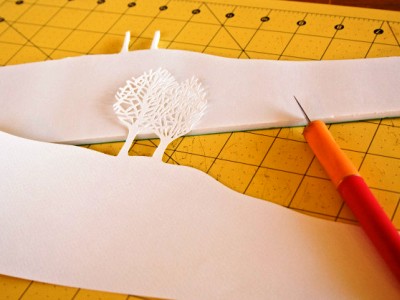
- Carefully fold the edges of both sheets to give them volume. Trunks of trees are also tucked, making small incisions and fixing them with glue. This work is more convenient to perform with an awl. Glue several pieces of polystyrene on the bottom sheet, and then attach the second sheet to it. Between paper drifts space is formed, which creates the effect of multilayeredness and volume.
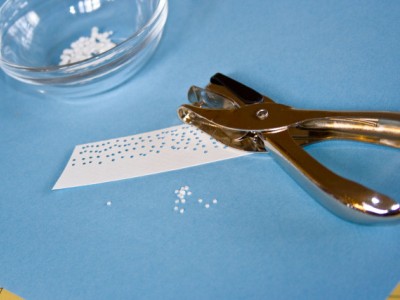
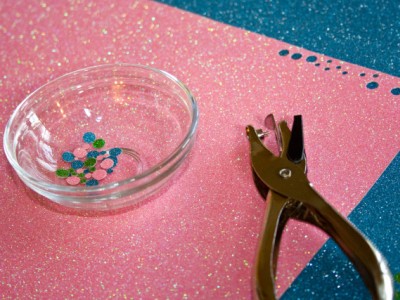
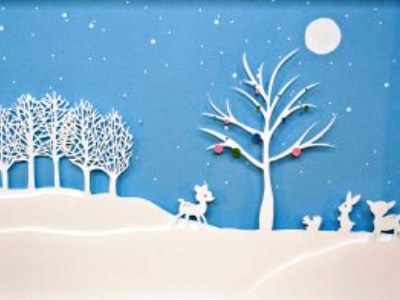
- Now, with the help of a stationery knife for perforating, make dozens of round "snowflakes". Similarly, cut several circles of different sizes from colored paper. If you do not have one, use a liquid shine.
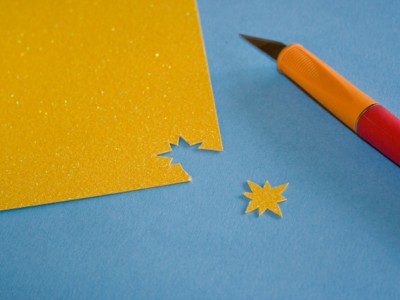
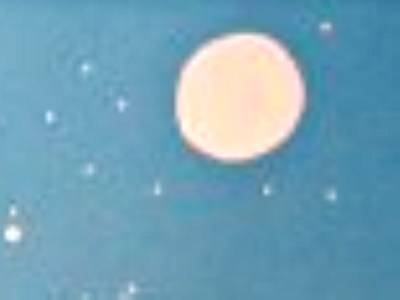
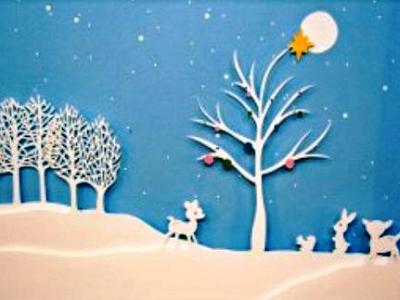
- Cut out from the white paper a round moon and animal figures, from yellow - an asterisk.
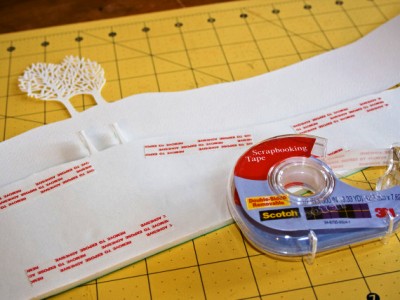
- On the third sheet of white paper, draw a tall tree with thin and long branches, gently cut it out. After all the details are ready, you can proceed to assemble the "cut-out", as the pictures from paper are called. To do this, one by one, you have to glue the paper layers on top of each other. A step-by-step scheme for assembling the picture is given below.
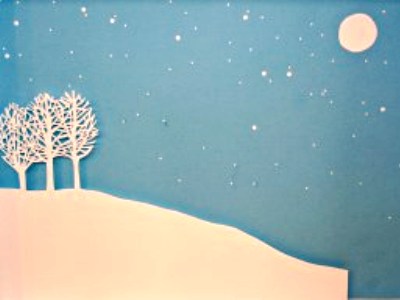
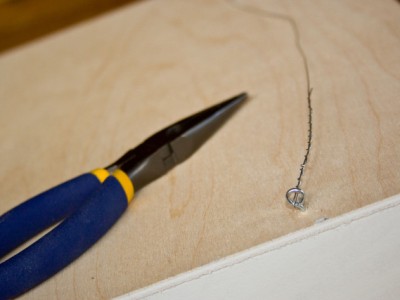
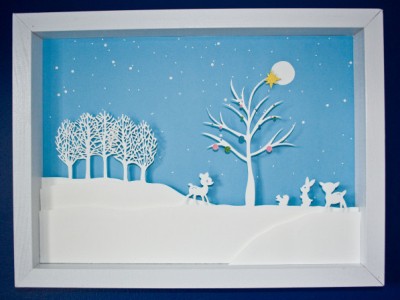
- Our multi-layer picture of paper is ready, it's time to decorate it in a frame. Measure the center of the frame at the top of the frame, screw the wire twisted into the loop. Then thread a wire or rope into the loop so that the picture can be hung on the wall. Inside the frame, glue several strips of double-sided adhesive tape and carefully place the picture.
- The handicraft is ready! Now you can safely decorate the house made with your own hands a picture of paper.
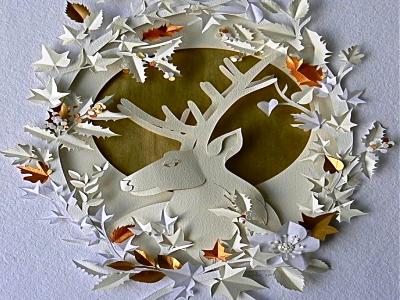
As you can see, with a little effort and a little patience, you can create unusual pictures. The principle of their production remains unchanged: pre-prepared layers of paper with cut out elements are alternately applied to the prepared background. As a separator, the pieces of polystyrene are most often used. This material is practically weightless and well glued to the paper. If carving of paintings fascinated you, feel free to try to create more complex crafts. Fantasy, patience, accuracy - this is what you need.
With your own hands, you can make pictures not only of paper, but also of other materials, for example, coffee beans or buttons .