In addition to special stitches in the existing techniques of embroidery (cross, smooth , hardanger), a backstitch seam is used, with which you can give a clear outline to the pattern or create a separate pattern. The craftsmen often call this a "back needle".
In this article, we will look at the technique of embroidering a backstick and see what kind of embroidery exists in its variety.
How to properly embroider a backstage master class
It will take:
- cloth or canvas;
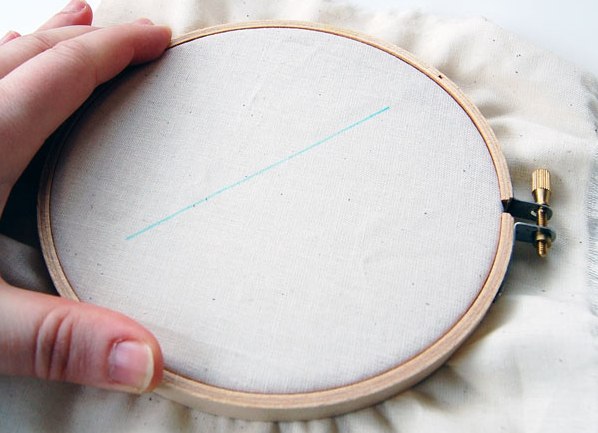
- embroidery frame;
- mulina;
- scissors;
- a felt-tip pen;
- needle.
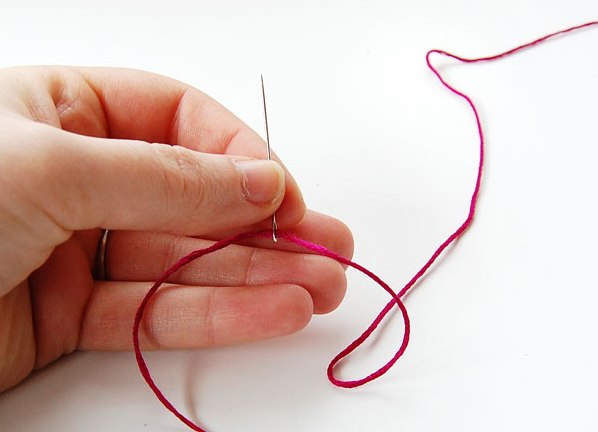
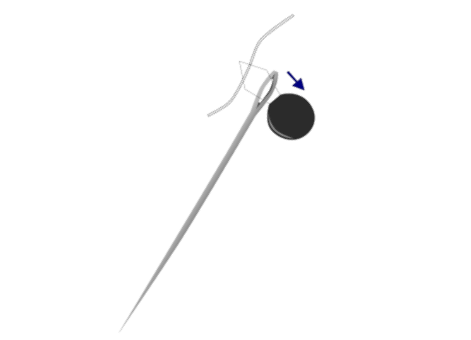
- We put the thread in the needle. For this it is very convenient to use a special tool.
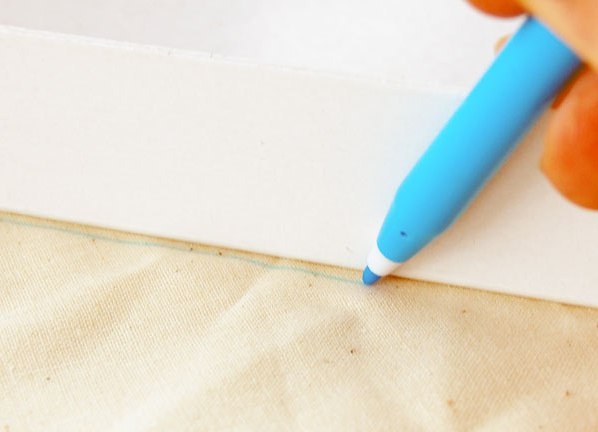
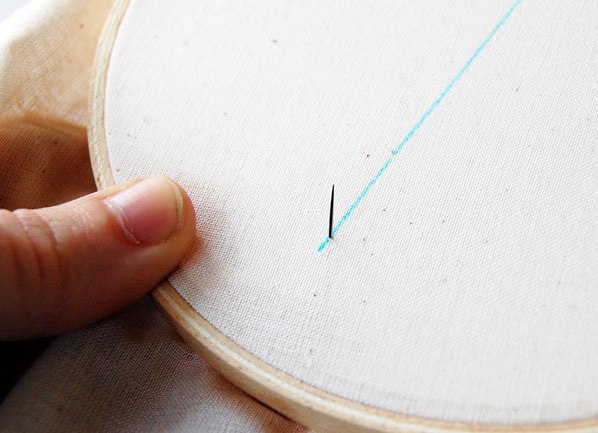
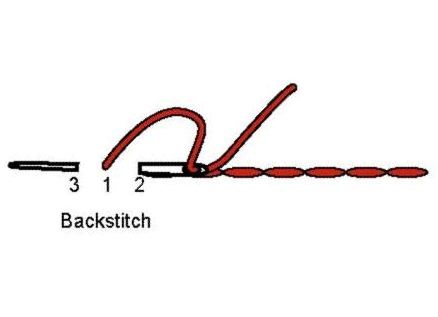
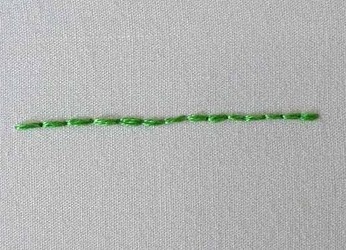
- Draw a line on the fabric. We stick the needle into the fabric from the wrong side, (1) stepping back slightly from the beginning.
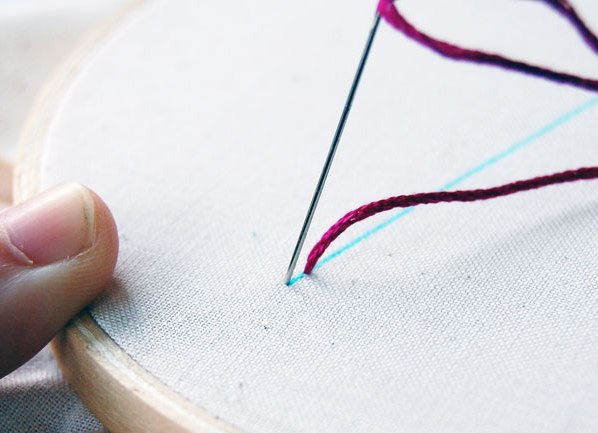
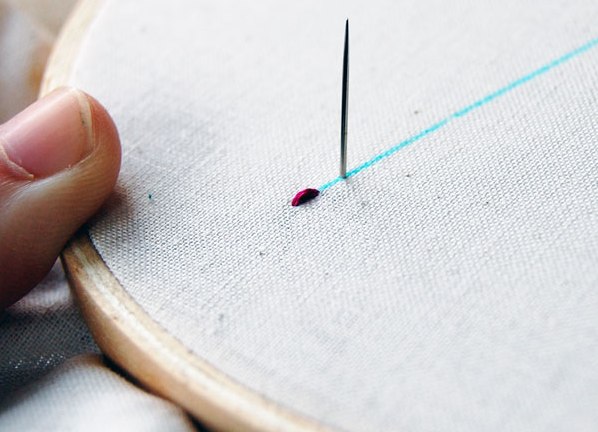
- We make the stitch back (2) and output before point 1 at a distance equal to the length of 1 stitch (3).
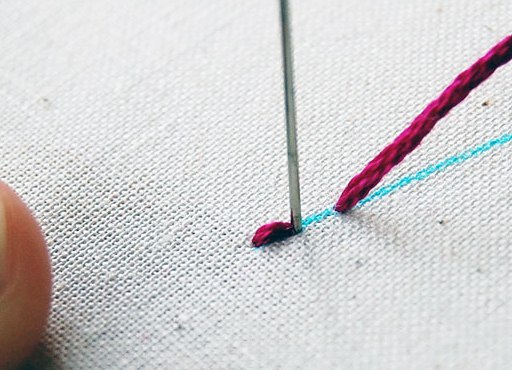
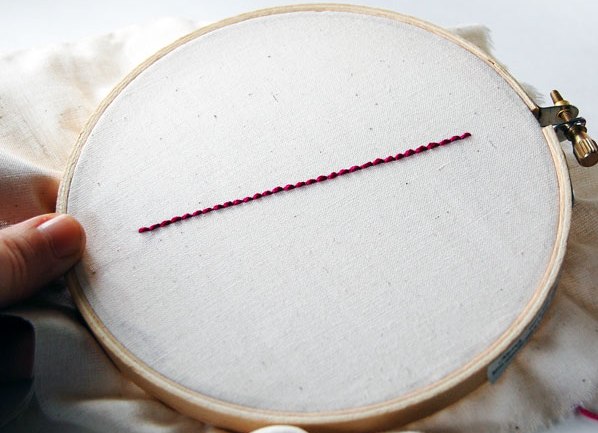
- Repeating the movement with a needle, sew it to the end of the line.
| | |
| | | |
| | | |
| | | |
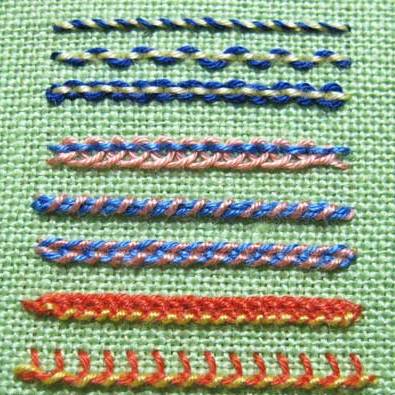
Based on the obtained seam, several varieties can be made.
| | |
Consider how the main ones are made.
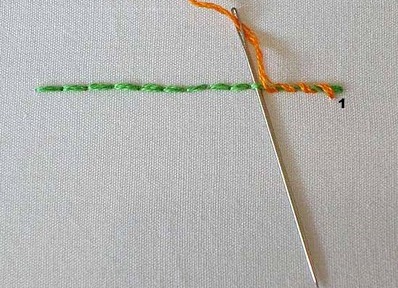
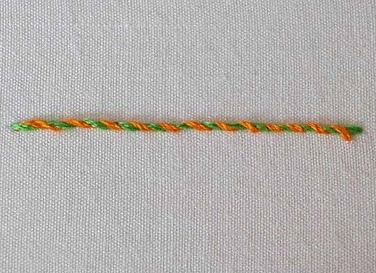
Option 1: Whipped thread
We stick from the wrong side a needle with a thread of a different color next to the beginning of the finished stitch of the backstick. And then we pass it under each stitch, bypassing the fabric. The thread should fit snugly against the seam. At the end, we remove the needle on the wrong side and fix it.
| | | |
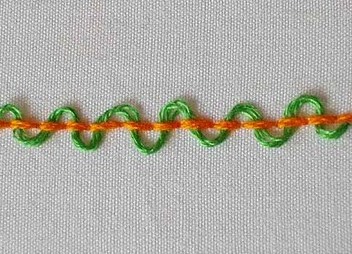
Option 2: Cascade
We start to sew the same way as in the first variant, only having got a string under the stitch, we make a small wave and then we start the needle under the next one. You can not tighten the thread.
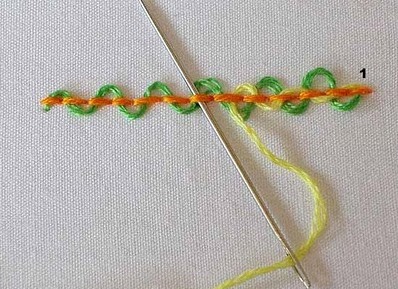
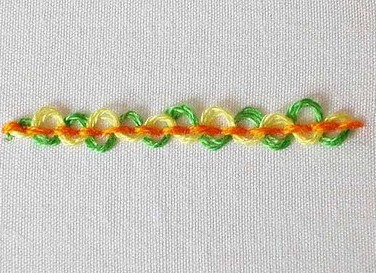
Option 3: Double cascade
We make a backstick with a cascade with one thread, and then, having threaded a third color into the needle, we do the same cascade, only the loops will look in the opposite direction from the ones available.
| | | |
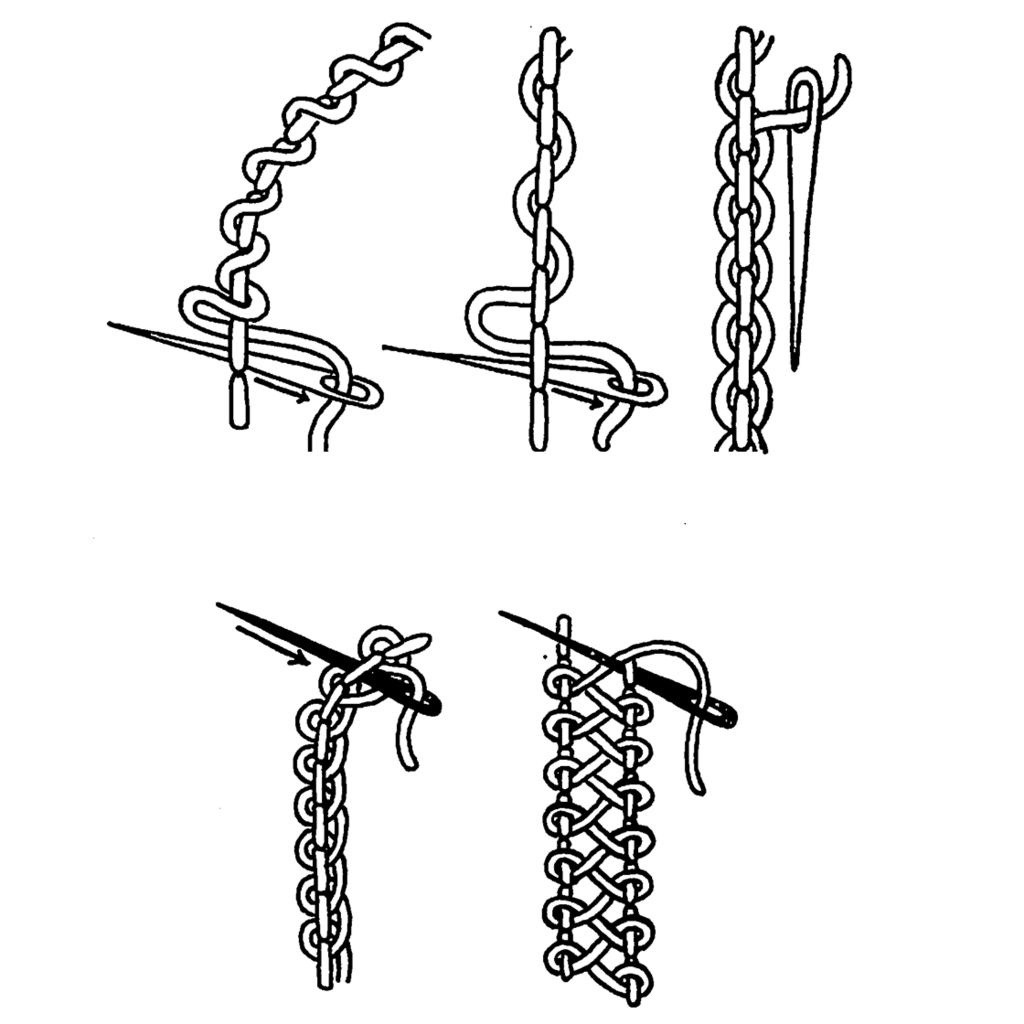
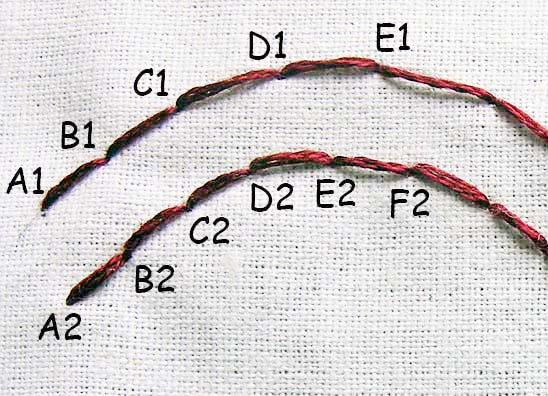
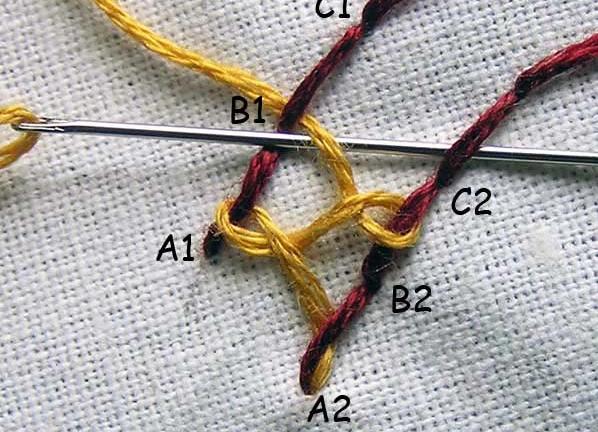
Option 4: Two-line
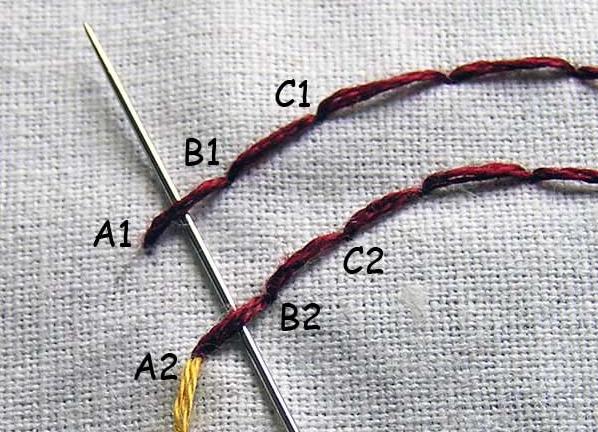
- We sew in dark color two lines of a seam of a backstick. Change the color of the thread and exit the point A2 from the wrong side. We spend a needle under the stitch A2 - B2, and then under A1-B1.
- We make a loop around the main thread, we lead a needle under the stitch B2-C2, passing under the yellow thread.
- Again, make a loop and lead to the stitch B1-C1, passing necessarily under the thread.
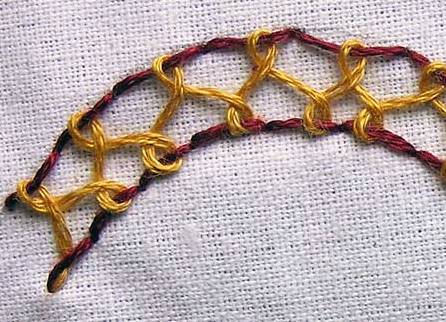
- We continue to embroider to the end. To finish, you need to bring the needle to the wrong side and fix it.
| | |
| | |
In embroidery, the backstitch seam is most often used to create a fringing, so it is performed after embroidering the entire pattern, and it becomes 1-2 threads of a floss.