Watering flowers in the garden or on the windowsill of a boring metal watering can? Yes this is a bad form! Everything in nature seeks beauty, so do not be too lazy to make a little effort, master the technique of decoupage and turn an unremarkable watering can into a work of art. So, decoupage of watering cans is a master class.
First we will prepare all the necessary materials:
- the main heroine is a watering can;
- a napkin with a pattern;
- brushes;
- Acrylic paints;
- bitumen varnish;
- adhesive PVA (or glue for decoupage);
- acrylic lacquer;
- solvent (white spirit).
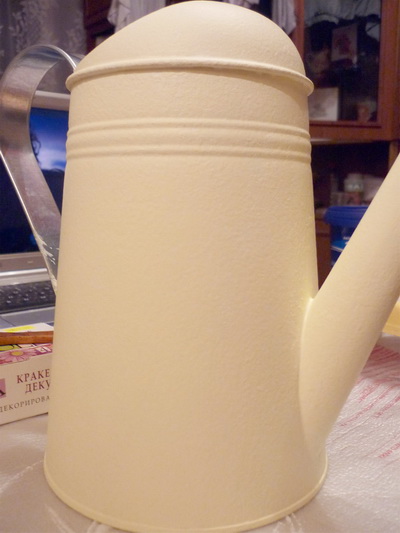
- We will begin work with the preparation of watering can for decoupage. It must be washed thoroughly, then degreased. For degreasing, a nail polish remover, alcohol or a glass cleaner is suitable, which, incidentally, gives a good adhesion to the next acrylic layer.
- Let us ground the watering can. To do this, we apply a layer of white acrylic paint. It is better to make a primer with two layers, and the second layer is already done not in white, but in that which will be combined with the chosen napkin.
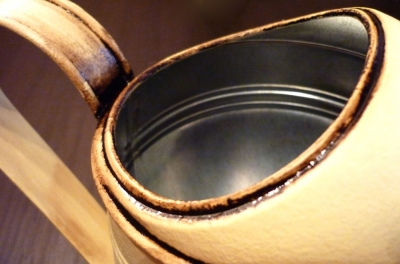
- Decoupage garden watering will look interesting, if you create the effect of an old thing. To do this, apply a bitumen varnish to the "aging spots" - with stitches, cavities, hard-to-reach grooves. We are waiting for 15 minutes, the varnish is not completely dried up yet. Take a cloth soaked in a solvent and gently walk through the places of application of varnish, thereby creating the effect of "shabby".
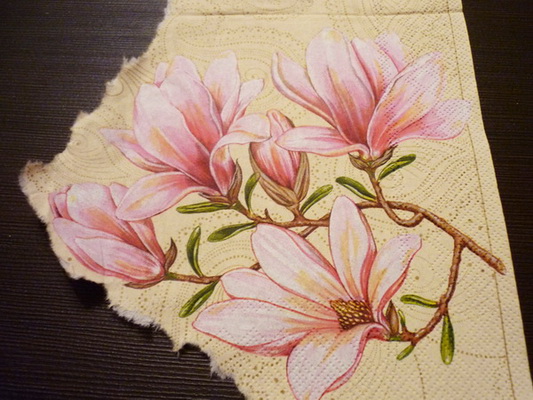
- We continue the decoupage of watering cans with gentle work with a napkin. We need only the upper of the three layers - the one on which the picture.
- We choose concrete images, which we will decorate, but do not cut them out, but gently tear them away so that straight lines are not created.
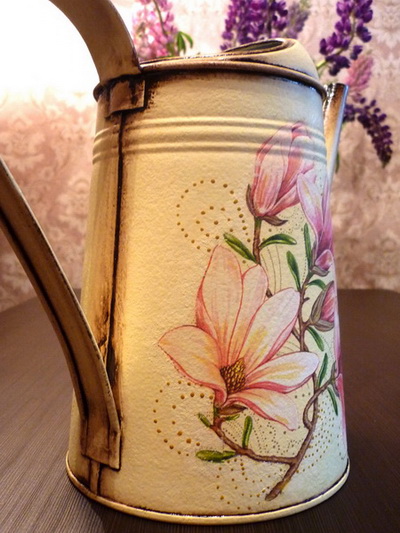
- Take the decoupage glue or PVA glue diluted by one third with water. First of all, we cover with glue a place on the surface of the watering can where the pattern will be located, then apply the prepared napkin and gently smooth with a brush with glue from the center to the edges.
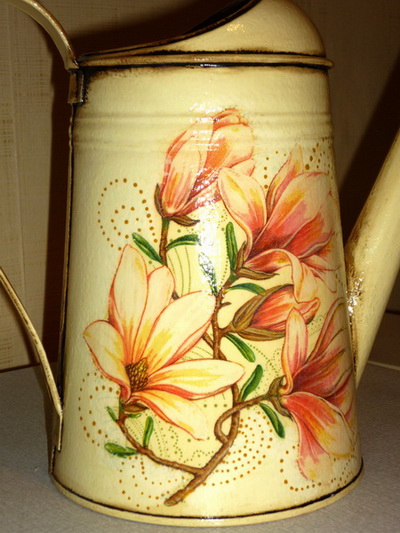
- After the successful application of the fragments with a watering can, you can use a hair dryer to speed up the process. By the way, while the watering can is dried, it is worthwhile to think whether it is necessary to add details. In this case, you can finish the drawing by painting with acrylic dots of dots repeating images on a napkin.
- There was a final stage - to cover the watering can with acrylic lacquer. It takes about 5 layers for a full result, each layer is desirable to dry for at least half an hour. And here it is an updated beauty - the decoupage of a metal watering can succeeded to the glory!
| | |
| | |
In the technique of decoupage, you can decorate other items: a casket , a housekeeper , a clock and everything that comes to hand.